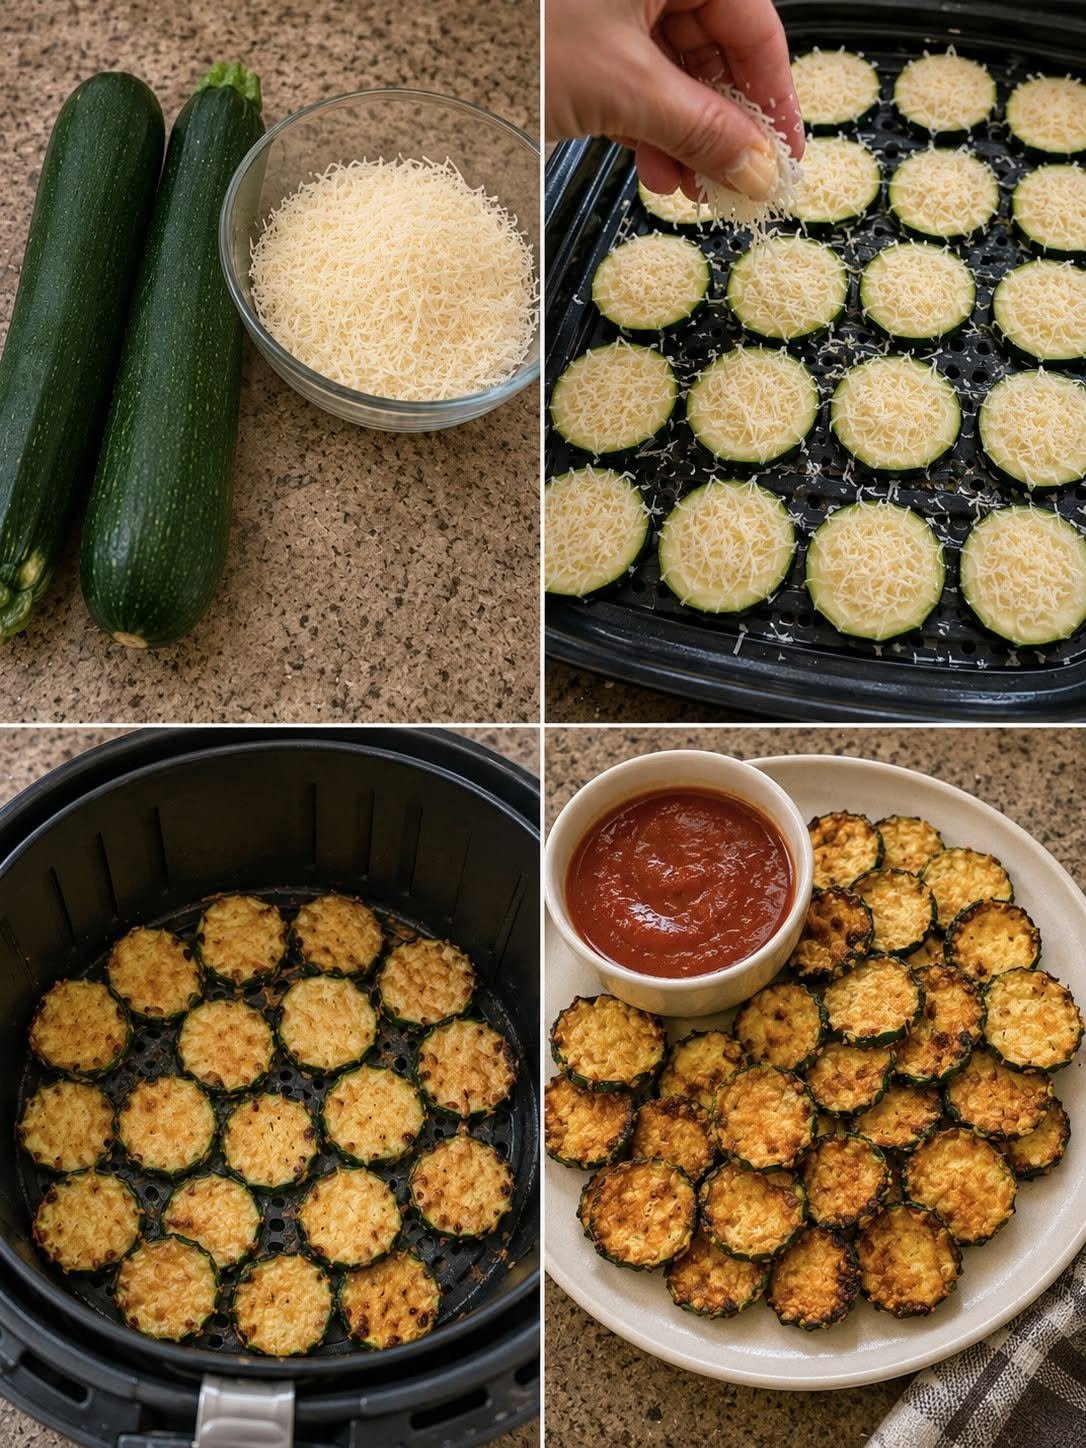
- Prep Time: 15 minutes
- Cook Time: 25 minutes
- Total Time: 40 minutes
- Servings: 4
- Calories: Approximately 170 kcal per serving
Ingredients
- 2 medium zucchinis
- 1 cup grated Parmesan cheese
- ½ cup Italian-style breadcrumbs
- 1 teaspoon garlic powder
- 1 teaspoon onion powder
- 1 teaspoon Italian seasoning
- ½ teaspoon paprika
- ¼ teaspoon black pepper
- ¼ teaspoon salt
- 2 large eggs
- 1 tablespoon milk
- Cooking spray or 1 tablespoon olive oil
- Fresh parsley, chopped (for garnish)
- Marinara sauce or ranch dressing for dipping (optional)
Kitchen Equipment
- Sharp knife or mandoline slicer
- Mixing bowls
- Baking sheet
- Parchment paper
- Wire rack (optional for extra crispiness)
- Whisk
- Measuring cups and spoons
Instructions
Step 1: Prepare the Oven
Preheat your oven to 425°F (220°C).
Line a baking tray with parchment paper or lightly grease it with cooking spray.
For maximum crispiness, place a wire rack on top of the baking tray and arrange the zucchini slices on the rack.
Step 2: Slice the Zucchini
Wash the zucchini thoroughly.
Trim both ends.
Using a sharp knife or mandoline, slice the zucchini into thin rounds about ¼ inch thick.
Uniform slices help the zucchini cook evenly.
Pat the slices dry using paper towels to remove excess moisture.
Step 3: Prepare the Coating
In one bowl, whisk together:
- Eggs
- Milk
In another bowl combine:
- Parmesan cheese
- Breadcrumbs
- Garlic powder
- Onion powder
- Italian seasoning
- Paprika
- Salt
- Black pepper
Mix until everything is evenly distributed.
Step 4: Coat the Zucchini
Dip each zucchini slice into the egg mixture.
Allow any excess egg to drip off.
Press both sides into the Parmesan mixture until completely coated.
Arrange each coated slice in a single layer on the prepared baking rack.
Do not overlap the slices.
Lightly spray the tops with cooking spray or brush with olive oil.
Step 5: Bake
Bake for 20–25 minutes, flipping once halfway through cooking.
Bake until:
- Parmesan turns golden brown
- Edges become crispy
- Zucchini becomes tender
For extra crunch, broil for the final 2 minutes while watching carefully to prevent burning.
Serving Suggestions
Serve immediately while hot and crispy.
Pair with:
- Marinara sauce
- Ranch dressing
- Garlic aioli
- Greek yogurt dip
- Spicy sriracha mayo
These crisps also pair wonderfully with grilled chicken, steak, burgers, pasta, soups, or fresh salads.
Recipe Tips
- Slice zucchini evenly for consistent cooking.
- Dry zucchini thoroughly before coating.
- Freshly grated Parmesan melts and crisps better than pre-shredded cheese.
- Avoid overcrowding the baking tray.
- Use Panko breadcrumbs for extra crunch.
- Broil briefly at the end for a crispier texture.
- Enjoy immediately for the best flavor and texture.
Variations
Low-Carb Version
Replace breadcrumbs with crushed pork rinds or almond flour.
Gluten-Free
Use gluten-free breadcrumbs.
Spicy Version
Add:
- Cayenne pepper
- Red pepper flakes
- Chipotle powder
Herb Version
Mix in:
- Fresh basil
- Thyme
- Oregano
- Rosemary
Extra Cheesy
Blend Parmesan with shredded mozzarella or cheddar.
Storage
Store leftovers in an airtight container in the refrigerator for up to 3 days.
Reheating
For the crispiest results:
- Oven: 400°F (200°C) for 5–8 minutes
- Air Fryer: 375°F (190°C) for 3–4 minutes
Avoid microwaving, as it will soften the coating.
Make-Ahead Tips
You can coat the zucchini slices up to 6 hours in advance and refrigerate them. Bake just before serving for the best texture.
Nutrition Information (Per Serving)
- Calories: 170 kcal
- Protein: 12 g
- Carbohydrates: 10 g
- Dietary Fiber: 2 g
- Sugars: 3 g
- Total Fat: 9 g
- Saturated Fat: 4 g
- Cholesterol: 95 mg
- Sodium: 470 mg
- Potassium: 420 mg
- Calcium: 300 mg
- Iron: 1 mg
- Vitamin A: 10% DV
- Vitamin C: 30% DV
Nutrition values are estimates and may vary depending on the ingredients used.
Why You’ll Love This Recipe
- Crispy without deep frying
- Ready in just 40 minutes
- Rich in protein and calcium
- Kid-friendly and family-approved
- Great for parties, snacks, or side dishes
- Budget-friendly ingredients
- Easy to customize with your favorite seasonings
- A delicious way to enjoy more vegetables